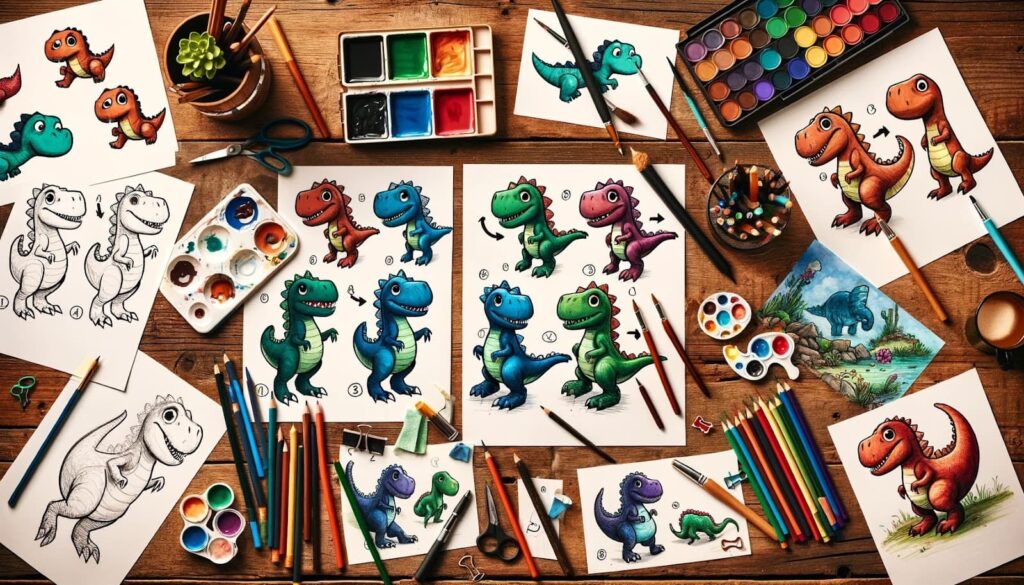
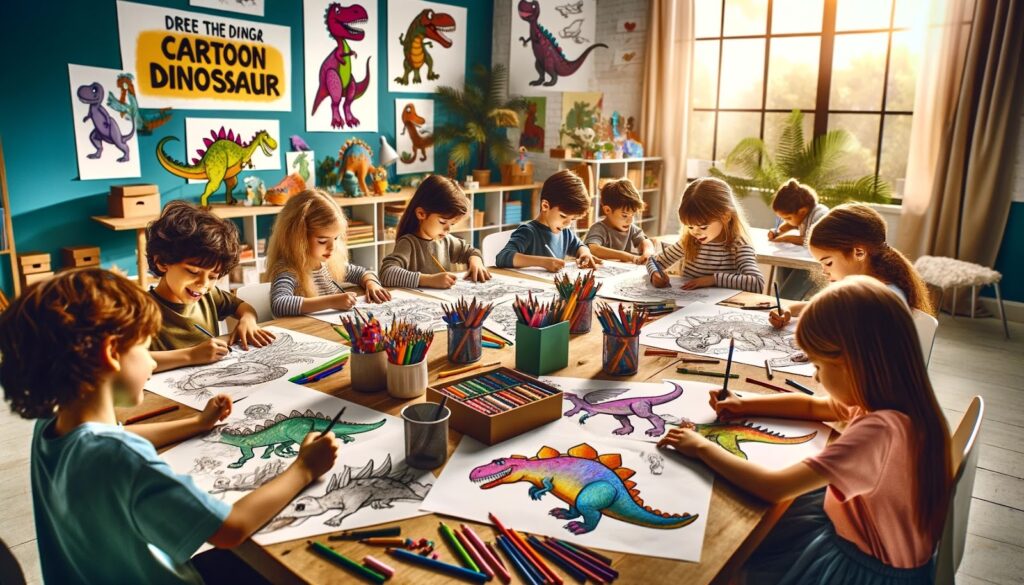
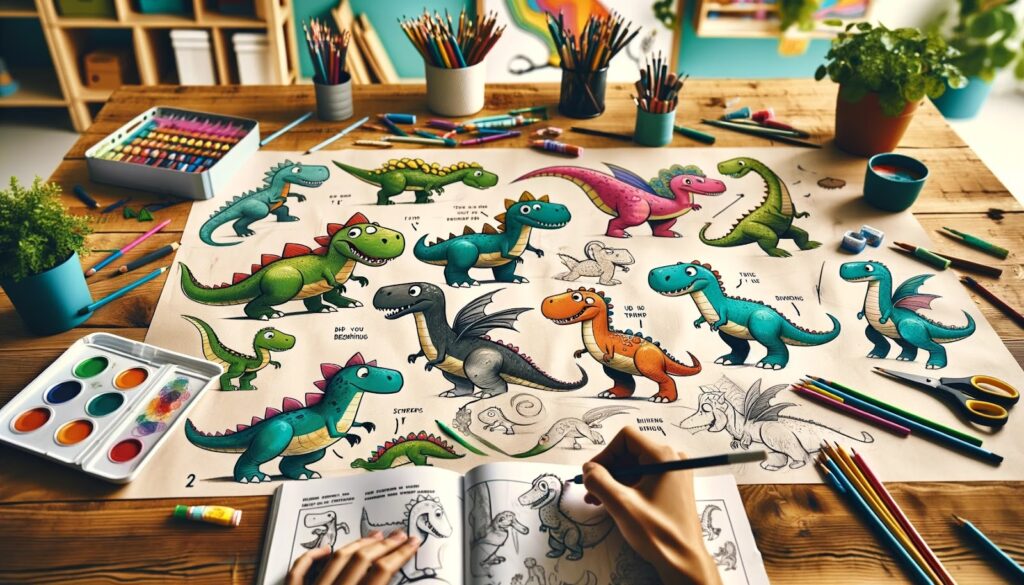
Cartoon dinosaurs have captured the imagination of people of all ages for decades. From the iconic T-Rex to the gentle Brachiosaurus, these prehistoric creatures continue to fascinate us with their size, strength, and mysterious extinction. In this guide, we will share our process and techniques for creating fun and lively cartoon dinosaurs. So grab your pencils and let’s get started!
1. The Initial Dinosaur Sketch
The first step in drawing any cartoon dinosaur is to start with a rough sketch. This allows you to get a feel for the overall shape and proportions of the dinosaur before adding any details.
There are countless species of dinosaurs to choose from, each with its own unique features and characteristics. Some have spikes, some have horns, and some even have fins. The possibilities are endless! For this guide, we will be drawing a classic cartoon T-Rex.
To start, use a light pencil to sketch out the basic shapes of the dinosaur’s body. Begin with a large oval for the head, followed by a smaller oval for the body. Add two small circles for the arms and two larger circles for the legs. Don’t worry about making everything perfect at this stage, as this is just a rough sketch to establish the overall form of the dinosaur.
Next, use a darker pencil to connect the shapes and refine the outline of the dinosaur. Pay attention to the proportions and make any necessary adjustments. Remember, this is still just a rough sketch, so don’t worry about adding too many details at this point.
Tips for the Initial Sketch:
- Start with basic shapes to establish the overall form of the dinosaur;
- Use a light pencil for the initial sketch and a darker pencil for refining the outline;
- Don’t worry about making everything perfect, as this is just a rough sketch.
2. Tightening Up the Sketch
Once you have the basic outline of your cartoon dinosaur, it’s time to start adding some details. This is where you can really let your creativity shine! Start by adding in the facial features, such as the eyes, nose, and mouth. For our T-Rex, we will give him a big toothy grin.
Next, add in the limbs and claws. Remember to keep the proportions in mind and make any necessary adjustments. You can also start adding some texture to the skin by lightly shading in some areas with your pencil. This will give your dinosaur a more realistic look.
Now is also a good time to start thinking about the pose of your dinosaur. Do you want it to be standing tall and proud, or crouched down ready to pounce? Experiment with different poses until you find one that you like.
Tips for Tightening Up the Sketch:
- Add in facial features, limbs, and claws;
- Keep proportions in mind and make any necessary adjustments;
- Start adding texture to the skin for a more realistic look;
- Experiment with different poses to find the right one for your dinosaur.

3. Digital Outlines
Once you are happy with your pencil sketch, it’s time to move on to digital outlines. This step is optional, but we find it helpful for creating clean and crisp lines. Using a scanner or your phone, take a photo of your sketch and upload it to your computer.
Open your preferred digital art program and create a new layer. Using a pen tool or brush, trace over your pencil sketch to create a clean outline. You can also use this step to make any final adjustments to the proportions or details of your dinosaur.
Tips for Digital Outlines:
- Use a scanner or your phone to upload your sketch to your computer;
- Create a new layer in your digital art program;
- Trace over your pencil sketch with a pen tool or brush;
- Make any final adjustments to the proportions or details of your dinosaur.
4. Adding Some Prehistoric Magic
Now that you have a clean outline, it’s time to add some color and bring your cartoon dinosaur to life! Start by creating a new layer underneath your outline layer. This will allow you to easily add color without affecting your outline.
Choose a base color for your dinosaur and use a large brush to fill in the body. Next, select a darker shade of the same color and use a smaller brush to add some shading and texture to the skin. You can also experiment with different colors and patterns to make your dinosaur even more unique.
Don’t forget to add some highlights to give your dinosaur a shiny and three-dimensional look. Use a lighter shade of your base color and a small brush to add highlights to areas where light would naturally hit, such as the top of the head, back, and limbs.
Tips for Adding Color:
- Create a new layer underneath your outline layer;
- Choose a base color and use a large brush to fill in the body;
- Add shading and texture with a darker shade of the same color;
- Use a lighter shade to add highlights for a three-dimensional look.

5. Final Touches and Details
To really make your cartoon dinosaur stand out, it’s important to add some final touches and details. This is where you can let your creativity run wild and add in any extra features or accessories to your dinosaur. For our T-Rex, we will give him some sharp teeth, a few scales, and a fun pattern on his skin.
You can also experiment with different backgrounds and settings to really bring your dinosaur to life. Maybe he’s in a lush jungle, or maybe he’s stomping through a city. The possibilities are endless!
Once you are happy with your final touches, it’s time to save your artwork and share it with the world. You can also use this process to create a whole family of cartoon dinosaurs, each with their own unique features and personalities.
Tips for Final Touches and Details:
- Add extra features and accessories to make your dinosaur stand out;
- Experiment with different backgrounds and settings;
- Save your artwork and share it with the world!
Conclusion
Drawing cartoon dinosaurs may seem like a daunting task, but with the right techniques and a little bit of imagination, anyone can create fun and lively prehistoric creatures. Remember to start with a rough sketch, tighten up the details, add some color and texture, and finish off with some final touches and details. With practice, you’ll be able to draw all kinds of cartoon dinosaurs and bring them to life on paper or digitally.
