
Embark on a creative adventure to master the art of illustrating a cheerful grin with this accessible tutorial. Presented in seven straightforward steps, it’s designed to enhance artistic abilities effortlessly.
Ideal for those seeking to refine their drawing skills, this guide invites you to explore the process of sketching a grin, tailored for novice artists and young enthusiasts. It promises a smooth journey, free from complexity. The techniques acquired here will be invaluable for future artistic endeavors. They offer the opportunity to infuse portraits with joy by adding a smile, as demonstrated in these instructions.
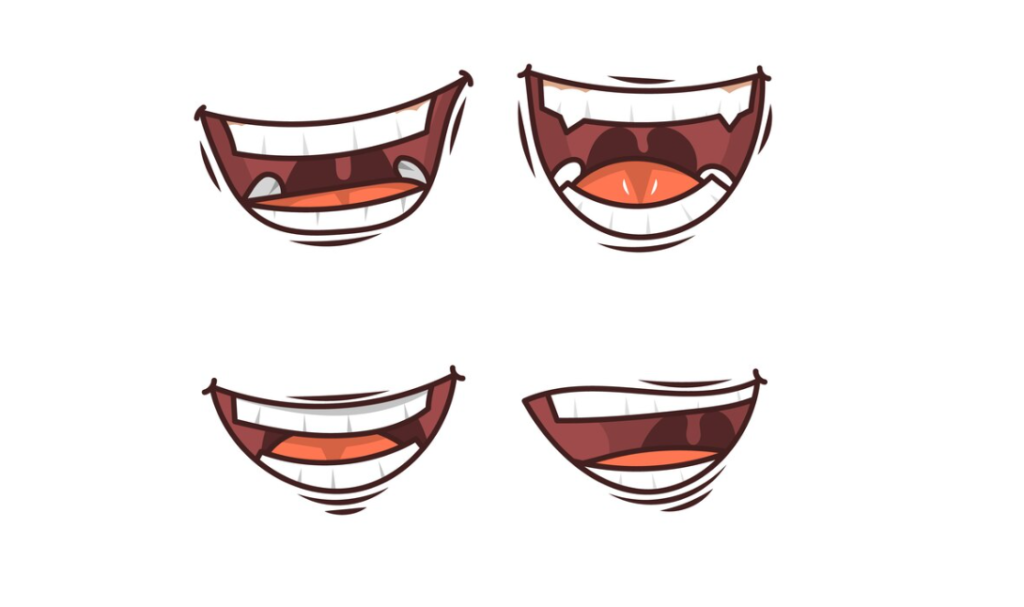
A smile often signifies joy and is achieved through a specific arrangement of facial features and muscle movements. In this tutorial, the focus is on capturing a broad smile that reveals the teeth, adding a burst of happiness to any character’s expression.
Drawing a Smiling Mouth
Materials Required
| Item | Description |
|---|---|
| Pencil | A standard HB pencil will suffice for sketching. |
| Paper | Any type of drawing paper, preferably with a smooth surface to facilitate detailed work. |
| Eraser | For correcting and refining your drawing as needed. |
| Coloring Supplies | This can include colored pencils, markers, or watercolors based on your preference and the desired effect. |
| Time Needed | Approximately 30 minutes, though this may vary depending on your pace and the level of detail. |
Step-by-Step Instructions
- Sketching the Upper Contour of the Mouth: Begin by lightly drawing an arc on your paper. This arc represents the top contour of the mouth and should be as symmetrical as possible. Consider the overall size and expression you wish to convey with your smile as you draw;
- Drawing the Lower Contour: Directly beneath your initial arc, draw a second arc. This one should connect to the ends of the first arc, mirroring its curvature but on a slightly larger scale to form the lower boundary of the mouth. Ensure both arcs meet smoothly at each end to create a cohesive shape;
- Defining the Mouth Corners: At each end of the arcs, add a small, identical arc upwards to indicate the corners of the mouth. These should be subtle but distinct, adding character to the smile;
- Illustrating the Separation Between the Teeth: Connect the corners of the mouth with a gentle arc inside the mouth, serving as the guideline for the separation between the upper and lower rows of teeth. This line should follow the curvature of the top arc closely;
- Adding the Upper Teeth: Above the line you just drew, sketch in several evenly spaced, straight lines to represent the top row of teeth. These lines should vary slightly in height and width to mimic the natural variation in teeth but remain relatively uniform to maintain a harmonious look;
- Sketching the Lower Teeth: Repeat the process for the bottom row of teeth by drawing several straight lines beneath the separation line. These should also vary in height, with some being shorter to reflect the natural appearance of teeth. The variation in size helps create a realistic portrayal of a smiling mouth.
Coloring the Drawing
Once satisfied with your sketch, it’s time to add color. Begin by selecting a shade for the skin around the mouth. Apply the color evenly, taking care not to overshadow the details of the smile. For the teeth, you might choose to leave them white or use a very light shade of gray or blue to add depth and a sense of realism.
If desired, you can also add shading around the mouth to emphasize the smile and give your drawing a more three-dimensional look. Use a lighter touch with your coloring supplies to build up the tones gradually, ensuring a smooth transition between light and dark areas.
Additional Tips

- Practice Makes Perfect: Don’t be discouraged if your first attempt doesn’t turn out as expected. Drawing is a skill that improves with practice;
- Light Initial Strokes: Start with light strokes to make erasing and correcting easier;
- Personalize Your Drawing: Feel free to add personal touches to your drawing, such as dimples or unique teeth shapes, to make it uniquely yours;
- Study Real Smiles: For inspiration and a better understanding of how to draw smiles, study photos of real people smiling or practice by looking in the mirror.
Conclusion
This tutorial offers a straightforward approach for beginners and young artists to master the art of drawing cheerful smiles. With seven easy-to-follow steps, it provides valuable techniques to enhance artistic skills effortlessly. By focusing on capturing a broad smile that reveals teeth, the guide ensures a smooth learning process without overwhelming complexity. Whether adding joy to portraits or bringing characters to life, this tutorial equips artists with practical skills to create vibrant and expressive smiles with confidence.